Restoring Vintage Stereo Receivers: What's Involved
Interested in restoring a vintage stereo receiver? Learn what goes into a proper restoration and why these classic units are worth saving.
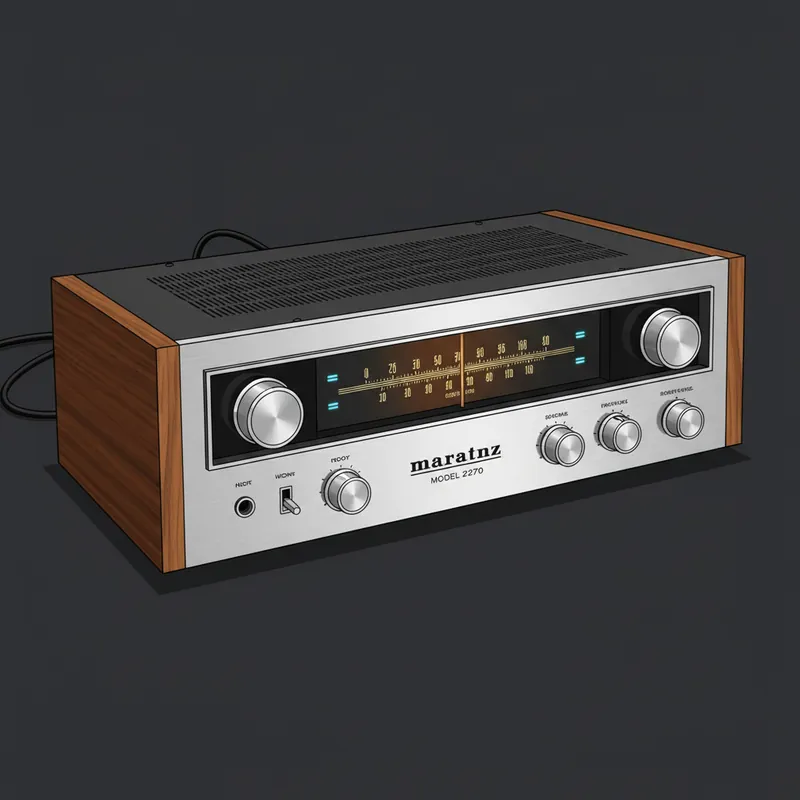
The vintage stereo receivers of the 1970s and early 1980s represent a golden age of audio equipment. Brands like Marantz, Pioneer, Sansui, and Kenwood built receivers that, with proper restoration, can outperform many modern equivalents. Here’s what’s involved in bringing these classics back to life.
Why Restore Vintage Receivers?
Build Quality
Vintage receivers were built differently:
- Heavy steel and aluminum chassis
- Large, high-quality transformers
- Through-hole components (easier to service)
- Real wood veneer cabinets
- Over-engineered power supplies
Sound Quality
Many vintage receivers offer:
- Warm, natural sound character
- Excellent phono stages (perfect for vinyl)
- High power output (often underrated specs)
- Musical presentation that many find preferable
Value Proposition
Restoration can be economical:
- A restored vintage receiver often costs less than equivalent new quality
- Parts are generally available
- Results can exceed modern equipment at similar prices
- Satisfaction of preserving quality equipment
What Needs Restoration?
Capacitors (Almost Always)
The most critical restoration need:
Electrolytic capacitors:
- Dry out over 20-40 years
- Cause hum, noise, and distortion
- Can fail catastrophically
- Should all be replaced preventively
Power supply capacitors:
- Large “can” capacitors often need replacement
- Critical for proper operation
- Failure can damage other components
Lights and Lamps
Display and dial lighting often fails:
- Incandescent bulbs burn out
- Fuse lamps fail
- LED conversion is an option
- Original bulbs available for purists
Controls and Switches
Oxidation affects sound:
- Volume controls get scratchy
- Switches make poor contact
- Cleaning with contact cleaner helps
- Some controls need replacement
Transistors (Sometimes)
Not all transistors need replacement:
- Output transistors may need matching
- Driver transistors occasionally fail
- Most small signal transistors are fine
- Replace only what’s actually faulty
Thermal Compound
Heat sink compound dries out:
- Output transistors need good thermal contact
- Old compound should be replaced
- Prevents overheating damage
The Restoration Process
1. Initial Assessment
Before starting:
- Visual inspection for obvious damage
- Power-on test (if safe)
- Identify specific symptoms
- Research known issues for the model
- Locate service manual
2. Disassembly
Careful documentation:
- Photograph everything before disassembly
- Note wire positions and connections
- Keep hardware organized
- Mark components if needed
3. Capacitor Replacement
The core of most restorations:
- Replace all electrolytic capacitors
- Use quality replacements (Nichicon, Panasonic, etc.)
- Match voltage and capacitance ratings
- Match or exceed temperature ratings
- Pay attention to physical fit
4. Cleaning
Throughout the unit:
- Clean all switches and controls
- Clean connector contacts
- Remove dust and debris
- Clean circuit boards if needed
- Polish exterior surfaces
5. Calibration
Proper adjustment is essential:
- Bias adjustment for output stage
- DC offset adjustment
- Idle current settings
- Alignment of tuner section
- Level matching
6. Testing
Verify the restoration:
- All functions tested
- Distortion measurements
- Power output verification
- Listening tests
- Thermal monitoring
Common Issues by Brand
Marantz
- Coupling capacitors affect tone
- Lamp replacement often needed
- Premium units justify thorough restoration
Pioneer
- Generally reliable
- Speaker relay contacts often need cleaning
- SX series highly regarded
Sansui
- Large filter capacitors critical
- Some had transistor reliability issues
- Excellent when restored
Kenwood
- Well-engineered overall
- Dial cord systems can be tricky
- Good value in restoration
DIY vs Professional Restoration
DIY Considerations
Vintage receiver restoration requires:
- Soldering skills
- Understanding of electronics
- Proper test equipment
- Service documentation
- Patient, methodical approach
Risks of DIY:
- Damage to irreplaceable parts
- Incomplete restoration
- Safety hazards (high voltages)
- Missing hidden issues
Professional Restoration Benefits
- Expertise with specific equipment
- Proper test equipment
- Experience with common failures
- Warrantied work
- Time savings
Is Restoration Worth It?
Consider restoration when:
- Unit is high quality (research the model)
- Sentimental value exists
- Unit is cosmetically good
- Repair costs less than comparable quality replacement
- You appreciate vintage equipment
Consider replacement when:
- Unit is entry-level quality
- Significant physical damage exists
- Modern features are important
- Cost exceeds value
Our Restoration Services
We restore vintage receivers to full functionality:
- Complete capacitor replacement - All electrolytic capacitors
- Control cleaning and repair - Restore smooth operation
- Lamp replacement - LED or original style
- Bias and adjustment - Factory specifications
- Phono stage service - Important for vinyl listeners
- Cabinet refinishing - Partner services available
We’ve restored receivers from Marantz, Pioneer, Sansui, Kenwood, Yamaha, and many others.
Preservation Matters
These receivers represent a peak in audio engineering quality-per-dollar. Factory-built with pride by skilled workers, they deserve preservation. A properly restored vintage receiver can serve another 30-40 years.
Have a vintage receiver that needs attention? Contact us for an evaluation and we’ll help you decide if restoration is right for your unit.
Tags:
Need Professional Help?
If you've tried these troubleshooting steps and your device still isn't working, we're here to help. Bring it in for a free diagnosis - we'll figure out what's wrong and give you a clear estimate before any work begins.
Get a Free Diagnosis