Vintage Radio Restoration Basics: What You Need to Know
Interested in restoring an antique or vintage radio? Learn the basics of radio restoration, common issues, and what makes these classic devices special.
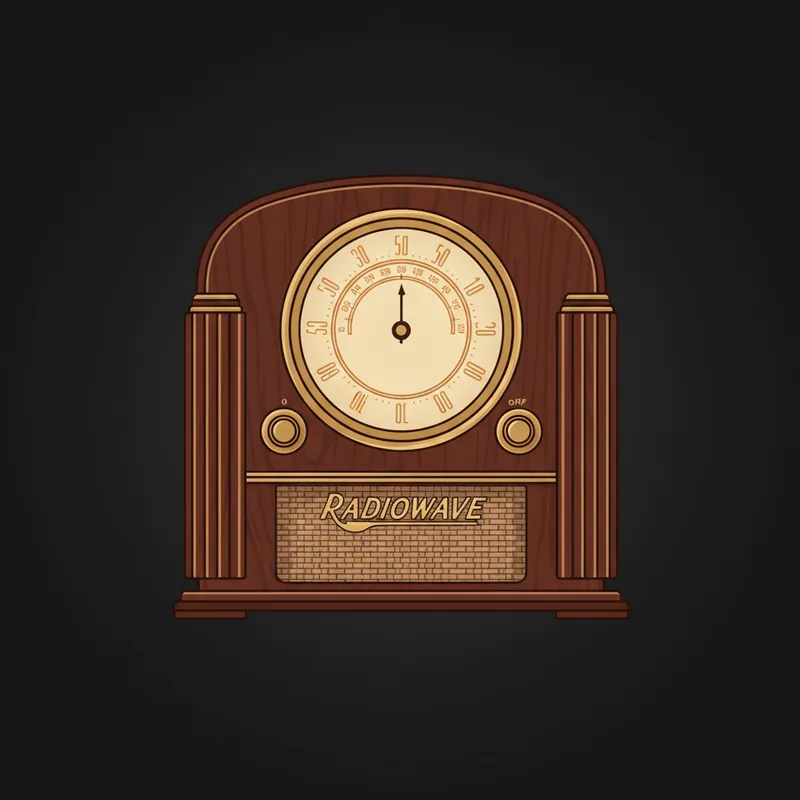
Vintage radios are more than just electronics - they’re pieces of history. From the ornate cathedral radios of the 1930s to the sleek transistor portables of the 1960s, these devices represent the evolution of home entertainment. Restoring them can be rewarding, but it requires understanding their unique challenges.
Types of Vintage Radios
Tube Radios (1920s-1960s)
The classic era of radio:
- AM-only early models
- AM/FM later models
- Shortwave and multiband sets
- Console radios with phonographs
- Table and mantel radios
Transistor Radios (1954-1980s)
The portable revolution:
- Pocket-sized portables
- Larger table models
- Car radios
- Clock radios
Which to Restore?
Both have their appeal:
- Tube radios: Classic sound, beautiful cabinets, more complex restoration
- Transistor radios: More reliable, easier to restore, period nostalgia
Safety First
Vintage radios can be dangerous:
- Tube radios operate at lethal voltages
- Old capacitors can hold charges
- Frayed wiring creates shock and fire hazards
- Some early radios had “hot chassis” designs with no isolation from AC mains
Before powering any vintage radio:
- Have it inspected by someone who knows vintage electronics
- Never assume it’s safe because it’s old
- Replace power cords and capacitors before use
Common Restoration Needs
All Vintage Radios
Capacitor replacement:
- Wax and paper capacitors fail with age
- Electrolytic capacitors dry out
- Cause hum, distortion, or complete failure
- Essential for safe operation
Power cord replacement:
- Old cloth-covered cords deteriorate
- Two-prong cords lack safety ground (where applicable)
- Replace with appropriate modern cord
Cleaning:
- Dust accumulates over decades
- Clean chassis carefully
- Clean contacts and switches
- Cabinet cleaning and restoration
Tube Radios Specifically
Tube testing and replacement:
- Tubes wear out and weaken
- Test all tubes
- Replace weak or dead tubes
- Some tubes are expensive or rare
Alignment:
- Radio tuning circuits drift over time
- Proper alignment restores sensitivity
- Requires proper equipment and knowledge
Speaker repair:
- Paper cones deteriorate
- Foam surrounds rot
- May need reconing or replacement
Transistor Radios
Electrolytic capacitors:
- Smaller but still fail
- Cause distortion and weak audio
Battery contacts:
- Corrode from old batteries
- Clean or replace as needed
Tuning mechanism:
- Dial cords break
- String replacement can be tricky
The Restoration Process
1. Assessment
Before starting:
- Document the radio’s condition
- Research the specific model
- Find schematics and service data
- Identify obvious issues
2. External Cleaning
Cabinet restoration:
- Clean wood with appropriate products
- Polish Bakelite and plastic carefully
- Clean dial glass inside and out
- Address veneer damage if present
3. Electrical Restoration
The critical work:
- Replace all paper/wax capacitors
- Replace electrolytic capacitors
- Replace power cord
- Test tubes (tube radios)
- Clean all controls and switches
4. Bring-Up
Powering up safely:
- Use a variac (variable transformer) to slowly raise voltage
- Use a dim bulb limiter to limit current
- Monitor for problems at each step
- Never leave unattended during initial power-up
5. Alignment and Adjustment
Fine-tuning:
- Alignment per service manual
- Adjust tracking and sensitivity
- Set proper bias and operating points
- Final listening tests
Finding Parts
Tubes
- Still manufactured (some types)
- NOS (new old stock) available
- Surplus dealers and eBay
- Test before buying used tubes
Capacitors
- Modern equivalents work well
- Size may be an issue in tight spaces
- Quality matters - use known brands
- Voltage ratings must match or exceed original
Speakers
- Reconing services available
- Generic replacements sometimes work
- Original speakers preferred when possible
Knobs and Hardware
- Reproduction parts available
- Donor radios provide authentic parts
- 3D printing enables custom replacements
What Not to Do
Common mistakes to avoid:
- Don’t power up without capacitor replacement
- Don’t spray lubricant everywhere
- Don’t use inappropriate cleaners on cabinets
- Don’t force stuck controls
- Don’t modify original designs unnecessarily
- Don’t assume all advice online is correct
Is DIY Restoration Advisable?
Consider your skills honestly:
DIY is reasonable if:
- You understand electronics fundamentals
- You can solder reliably
- You have proper test equipment
- You can follow schematics
- You understand the safety risks
Seek professional help if:
- You’re not confident in your skills
- The radio is valuable or rare
- Safety concerns exist
- You lack proper equipment
- You want it done right the first time
Preservation vs Modification
A philosophical choice:
Preservation approach:
- Keep original appearance
- Use period-appropriate parts
- Maintain collectible value
- Document all changes
Practical approach:
- Add modern features (Bluetooth, etc.)
- Use modern replacements freely
- Focus on functionality over authenticity
- Suit your personal preferences
Neither approach is wrong - it depends on your goals.
Our Vintage Radio Services
We restore vintage radios of all types:
- Complete electrical restoration - Capacitors, tubes, safety updates
- Alignment and calibration - Restore proper tuning
- Cabinet restoration - Clean and preserve original finish
- Speaker repair - Reconing and replacement
- Evaluation - Assess condition and restoration needs
From cathedral radios to transistor portables, we have experience with vintage radio restoration.
Have a vintage radio that needs attention? Bring it in for evaluation and we’ll help bring it back to life.
Tags:
Need Professional Help?
If you've tried these troubleshooting steps and your device still isn't working, we're here to help. Bring it in for a free diagnosis - we'll figure out what's wrong and give you a clear estimate before any work begins.
Get a Free Diagnosis